Unleash Culinary Magic: Your Comprehensive Guide on How to Make Whipped Butter at Home
Hello friends! There's something truly special about a simple spread that elevates an ordinary meal into an extraordinary experience. When it comes to butter, we all appreciate its rich flavor, but what if you could transform it into something even more luxurious, light, and effortlessly spreadable? We're talking about whipped butter, and today, we're diving deep into how to make whipped butter right in your own kitchen.
Forget the generic tubs you find at the supermarket. Homemade whipped butter offers a superior texture and allows for endless flavor customization, making it a game-changer for everything from your morning toast to elegant dinner parties. Whether you crave the airy delight of a steakhouse classic or dream of a tangy, cultured spread, we'll guide you through the process, sharing secrets and tips to achieve creamy perfection.
The Magic Behind Whipped Butter: Why Bother?
You might be wondering, why go through the trouble of whipping butter when a regular stick works just fine? The answer lies in the incredible transformation that occurs when air is incorporated into butter. This simple act fundamentally changes its physical properties and enhances its appeal in several ways:
- Unrivaled Spreadability: Whipped butter is incredibly light and airy, making it glide effortlessly over warm bread, pancakes, or any baked good without tearing. No more wrestling with cold, hard butter!
- Enhanced Texture: The aeration creates a delicate, fluffy texture that simply melts in your mouth, providing a more luxurious feel than dense, solid butter.
- Increased Volume, Less Guilt: Because it's filled with air, a tablespoon of whipped butter contains less actual butter than a tablespoon of solid butter. This can be a delightful perk for those mindful of their intake, offering the same indulgent experience with slightly less richness.
- Flavor Amplification: Whipping helps distribute flavors more evenly, whether it's the inherent dairy notes of the butter itself or added sweet and savory infusions.
- Cost-Effective: While you can buy whipped butter, making it at home is often more economical, especially when you consider the quality and customization you gain.
Mastering how to make whipped butter is a skill that elevates your culinary repertoire and adds a touch of gourmet sophistication to everyday meals.
Mastering the Basics: How to Make Classic Whipped Butter
The simplest form of whipped butter is made from pre-existing butter, softened and then aerated. This is the foundation for most flavored variations and a great starting point for anyone learning how to make whipped butter.
Essential Ingredients and Equipment:
- Butter: High-quality butter is key. You can use salted or unsalted, depending on your preference and whether you plan to add other seasonings. European-style butter with a higher fat content (around 82% butterfat) will yield a richer, creamier result, but standard butter works perfectly too.
- Optional (for texture/flavor): A splash of milk, cream, or water (for an even lighter consistency), or a pinch of salt if using unsalted butter.
- Equipment: A stand mixer with a paddle attachment is ideal, but a hand mixer will also do the job beautifully. You'll also need a sturdy mixing bowl.
Step-by-Step Instructions for Classic Whipped Butter:
- Soften Your Butter: This is arguably the most crucial step. Your butter should be *perfectly* softened – not melted, but pliable enough that your finger can easily leave an indentation without much resistance. This usually takes about 1-2 hours at room temperature (around 68-72°F / 20-22°C). If you're in a hurry, you can cut the butter into smaller pieces to speed up the process, but avoid microwaving, which can melt the butter unevenly and negatively impact the texture.
- Whip it Good: Place the softened butter into your mixing bowl. Begin whipping with your stand mixer (on medium-high speed) or hand mixer.
- Scrape and Continue: As the butter whips, it will lighten in color and become fluffy. Stop periodically to scrape down the sides of the bowl with a spatula, ensuring all the butter is evenly aerated.
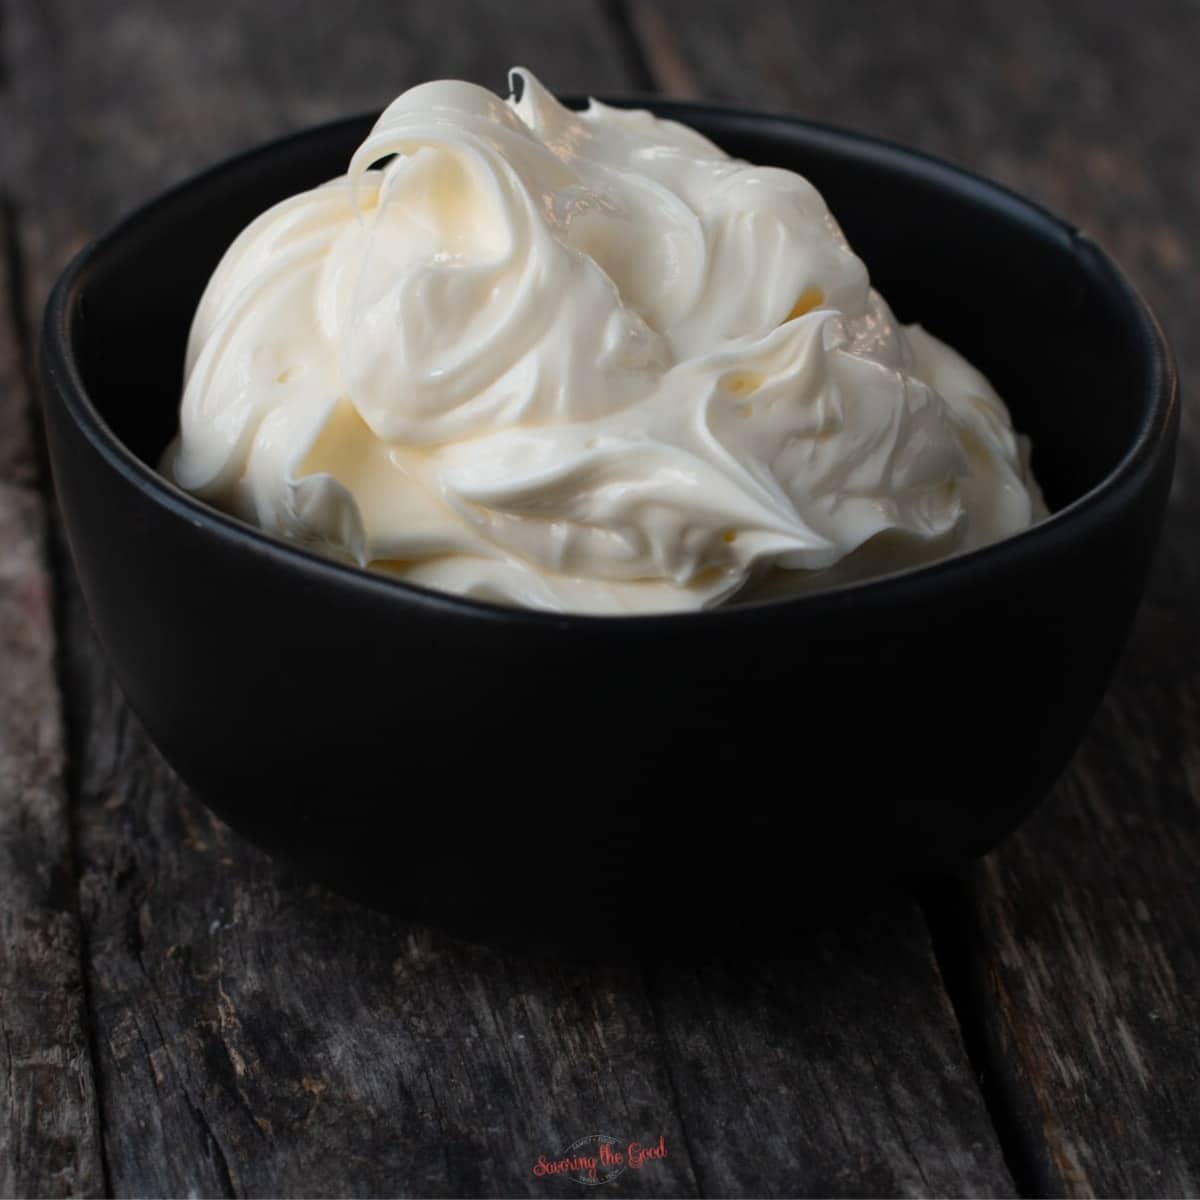
- Achieve Desired Consistency: Continue whipping for 5-7 minutes, or until the butter is noticeably lighter in color, smooth, and has a light, airy, almost mousse-like consistency. If you'd like it even lighter, you can add a tablespoon of milk or cream towards the end of the whipping process.
- Taste and Adjust: If using unsalted butter, now is the time to add a pinch of fine sea salt, mixing until combined.
And just like that, you've mastered how to make whipped butter in its simplest, most elegant form! For more foundational techniques and troubleshooting tips, you might find our other guide on how to make whipped butter - Article 1 incredibly helpful.
Elevate Your Spread: Creative Flavored Whipped Butter Ideas
Once you've mastered the basic technique, the world of flavored whipped butter opens up! This is where you can truly let your culinary imagination soar, creating spreads that complement specific dishes or simply delight the palate. Here are a few popular and inventive ideas, including the steakhouse-inspired delight:
Sweet Whipped Butter Variations:
- Honey-Cinnamon Whipped Butter (Steakhouse Style): This is a beloved classic. To your basic whipped butter, add 2 tablespoons of organic honey, 1 teaspoon of ground cinnamon, and 2 tablespoons of powdered sugar (per 1/2 cup of butter). Whip until thoroughly blended and fluffy. This is divine on warm rolls, pancakes, or sweet potatoes.
- Maple-Pecan Whipped Butter: Combine whipped butter with a few tablespoons of pure maple syrup and finely chopped toasted pecans.
- Orange Blossom Honey Whipped Butter: For a floral and citrusy note, mix in orange zest and a drizzle of orange blossom honey.
- Berry Whipped Butter: Fold in a tablespoon or two of pureed fresh berries (strawberries, raspberries) for a vibrant, fruity spread perfect for scones or toast.
Savory Whipped Butter Variations:
- Garlic-Herb Whipped Butter: A powerhouse of flavor! Incorporate minced fresh garlic, finely chopped parsley, chives, and a pinch of dried oregano or thyme into your whipped butter. Excellent for slathering on crusty bread, grilled steak, or roasted vegetables.
- Lemon-Dill Whipped Butter: Bright and fresh, this is fantastic with fish, chicken, or steamed asparagus. Add lemon zest and fresh dill.
- Chipotle-Lime Whipped Butter: For a smoky kick, mix in a pinch of chipotle powder and fresh lime zest. Great for corn on the cob or tacos.
- Everything Bagel Whipped Butter: Stir in a teaspoon or two of everything bagel seasoning for a savory, textural delight.
When adding flavorings, always start with a small amount and taste as you go, adjusting to your preference. Remember to whip again briefly after adding ingredients to ensure even distribution and to maintain that airy texture. For more exciting ideas and a deeper dive into unique combinations, make sure to check out our collection of creative recipes on how to make whipped butter - Article 2.
The Next Level: Cultured Whipped Butter from Scratch (French-Inspired)
For the true butter connoisseur, the journey doesn't stop at whipping store-bought butter. Imagine making your own butter from scratch, infusing it with a delicate tang and unparalleled richness, and *then* whipping it to airy perfection. This is the secret to French-style cultured butter, and while it requires patience, the reward is immense.
Understanding Cultured Butter: A Flavorful Foundation
Cultured butter begins with cultured cream. Unlike regular butter, where fresh cream is churned, cultured butter is made from cream that has been fermented with live cultures (much like yogurt or buttermilk). This fermentation process develops a distinct, slightly tangy flavor profile and a richer, more complex aroma that sets it apart. The resulting butter often has a higher fat content and a deeper, more satisfying taste.
The Process: From Cultured Cream to Fresh Butter (and then whipping it!)
While making butter from scratch is a topic in itself, we can outline the path to create the foundational ingredient for your ultimate cultured whipped butter:
- Prepare the Cultured Cream: In a bowl, combine high-fat heavy cream (36-40% butterfat is ideal) with a few tablespoons of cultured buttermilk and a cup of plain, cultured yogurt. These live cultures will kickstart the fermentation. Mix well and cover the bowl.
- Fermentation: Leave the mixture at room temperature for 24-48 hours. During this time, the cultures will ferment the cream, thickening it and developing its characteristic tangy flavor.
- Chill Thoroughly: After culturing, transfer the cream mixture to the refrigerator and chill for at least 2-3 hours. Crucially, also chill the bowl and whisk attachment you plan to use for churning. Everything must be very cold for successful butter separation.
- Churning the Butter: Remove the chilled mixture and equipment from the fridge. Using your stand mixer, begin whisking the cream. Start on a low speed, then gradually increase. The mixture will progress from a thick liquid to soft peaks (whipped cream stage), then to stiff peaks, and finally, the butterfat will separate from the buttermilk, forming solid clumps of butter. This can take anywhere from 10-20 minutes.
- Rinsing and Kneading: Drain off the buttermilk (save it for baking!). Rinse the butter thoroughly with ice-cold water, kneading it with a spatula or your hands, until the water runs clear. This removes all remaining buttermilk, which would otherwise cause the butter to spoil quickly.
- Seasoning: At this point, you can season your freshly made cultured butter with salt if desired.
- Now, Whip It!: Once you have your beautiful, homemade cultured butter, you can proceed to whip it using the same methods described in the "Classic Whipped Butter" section above. Ensure it's softened properly, then whip until light, airy, and fluffy. The result will be a whipped butter with an unparalleled depth of flavor and an exquisite texture that truly stands in a class of its own.
This advanced method demonstrates that learning how to make whipped butter can be a deeply rewarding journey, leading to spreads that are not just delicious but also a testament to homemade culinary artistry.
Storage and Serving Suggestions
Once you've created your masterpiece, proper storage ensures it stays fresh and delightful:
- Storage: Store whipped butter in an airtight container in the refrigerator. It will firm up when chilled but will still be softer and more spreadable than regular butter. Plain whipped butter can last for about 1-2 weeks in the fridge. Flavored varieties might have a slightly shorter shelf life, depending on the ingredients used (e.g., fresh herbs might shorten it).
- Freezing: For longer storage, whipped butter can be frozen for up to 2-3 months. Portion it into smaller containers or shape it into logs, wrap tightly in plastic wrap, and then place in a freezer-safe bag or container. Thaw in the refrigerator before using.
Serving Suggestions:
- Breakfast & Brunch: Spread on toast, bagels, English muffins, pancakes, waffles, or crepes.
- Baked Goods: Serve alongside warm croissants, muffins, biscuits, or quick breads.
- Dinner Entrees: Melt a dollop over grilled steaks, roasted chicken, or baked potatoes.
- Vegetables: Toss with steamed green beans, corn on the cob, or roasted carrots for an instant flavor boost.
- Gourmet Gifting: Jar up your homemade flavored whipped butter for a thoughtful and delicious edible gift.
Conclusion
From a basic spread to an artisanal delicacy, mastering how to make whipped butter is a simple yet impactful skill that elevates your home cooking. It's about more than just butter; it's about adding a touch of intentionality and luxury to your everyday meals. Whether you choose a quick classic whip, an adventurous flavored blend, or embark on the journey of cultured butter from scratch, the result will always be a delightful, creamy, and effortlessly spreadable treat. So, grab your mixer, unleash your creativity, and get ready to transform your butter experience forever!
